


…Because sometimes I really do try to Do All the Things.
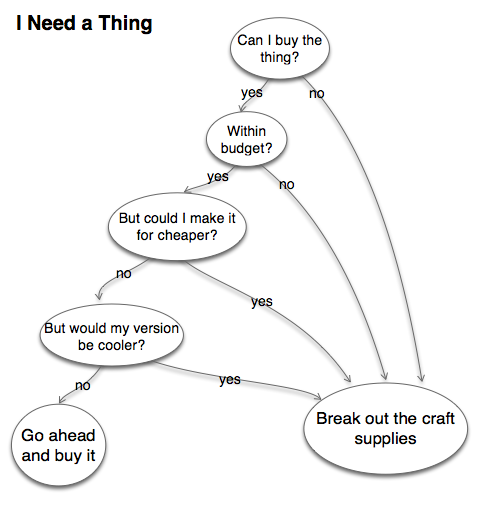
I’m perfectly happy to buy commercial or pre-made items for most things. But when I can’t find what I need, am not happy with the options available, or know I could make a better or cheaper version, then my next thought is “how can I make this.”
 This is how it went with my glasses case.
I wear reading glasses and so am constantly putting them on and taking them off, especially at work. My solution was to shove my clamshell case in my pocket, but this was bulky and awkward and made for several steps and a lot of hassle. Plus, the hinge on the cases kept wearing out from overuse.
I had a cheap plastic clip-on case that had come with a pair of drugstore reading glasses that I would use (the case, not the glasses) on days I didn’t have pockets. After a while I was using this case by preference. It worked pretty well, but the problem was that if I bent over at the wrong angle my glasses would slide out the top. And it really was cheap.
This is where we go to “how can I make this.”
I traced a pattern from the case and added one very important feature: a flap. No more glasses sliding out the top!

My first case was very much a learning experience. Lesson 1: sewing the leather on the machine sounds like a good idea, but it’s not. While I have a machine that can supposedly handle it, it’s much easier and better looking to glue the flannel lining in place.
Lesson 1b: this goes for sewing the two sides of the case together, too. Lockstitch (basic sewing machine stitch) is not ideal for leather items because if a second of it wears out, the whole seam tends to unravel. Saddle stitch, a pretty standard leather working stitch, will usually hold itself together even if a section breaks (as I learned when I wore through the stitching on the heels of my shoes), and looks just as professional as lockstitch.
Lesson 2: get yourself a stitching punch or chisel. Or several. You do not want to try to punch through the leather with the hand sewing needle, even a leather needle, and the hole punch doesn’t look that good.
Lesson 2b: using a chisel with more prongs may seem like a time saver, but you need so much more force – i.e. whacks of the hammer – to get all those prongs through that it really isn’t. At least in my case. I found it much easier and faster to use the two-prong chisel than the four-prong.
Lesson 3: get yourself a groover. It helps protect the stitches from wear. And it just looks better.
 Lesson 4: stitch the top of the clip in place. You can’t trust the rivet to keep the clip from swinging around, and you can’t trust glue, either. Or you shouldn’t. Punch a hole on either side of the clip and whip-stitch it.
Speaking of the clips, a word of warning: these are not the most secure clips. They’re inexpensive and for the most part work just fine, but bend over or squat down with the case in the wrong spot, get it caught getting in or out of the car, get it caught on the bottom edge of your jacket—and it will slip off your belt. That’s how I lost my first case and needed to make a second one.
The designs on these are from Urban Threads. I bought the designs as hand embroideries and traced them onto the leather, then burned them in using a pyrography (wood burning) pen hooked up to a dimmer switch. However, when using their designs for anything other than embroidery, they ask that you not sell the items—I’m still working on designs I can use for sale.

Recent Comments